


 立即下载
立即下载wifi连接上不能上网怎么办
分类:windows7教程 发布时间:2020-06-17 14:00:00
以下是wifi连接上不能上网的解决方法。
打开“网络和共享中心”,然后单击“更改适配器设置”以查看无线网络连接属性。
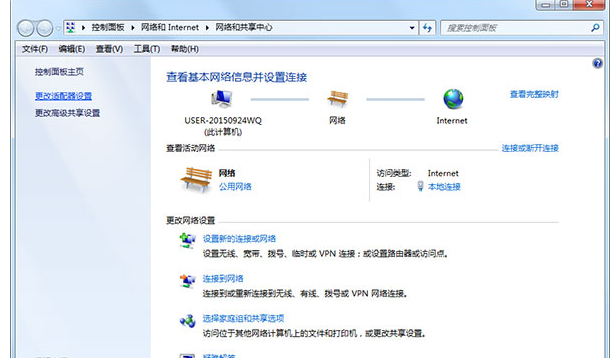
在打开的无线网络连接属性的对话框中,单击“ Internet协议版本4(TCP / IPv4)”,然后单击“属性”。

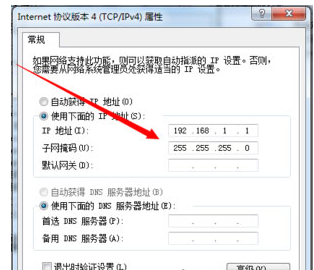
请参阅“ Internet协议版本4(TCP / IPv4)属性”对话框。更改此处的设置以自动获取IP地址,然后单击“确定”。
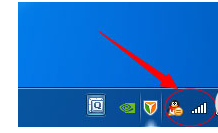
刷新它,发现桌面右下角的连接图标已恢复正常。
以上就是wifi连接上不能上网的处理方法了,你学会了吗?


 魔法猪一健重装系统win10
 装机吧重装系统win10
 系统之家一键重装
 小白重装win10
 杜特门窗管家 v1.2.31 官方版 - 专业的门窗管理工具,提升您的家居安全
 免费下载DreamPlan(房屋设计软件) v6.80,打造梦想家园
 全新升级!门窗天使 v2021官方版,保护您的家居安全
 创想3D家居设计 v2.0.0全新升级版,打造您的梦想家居
 全新升级!三维家3D云设计软件v2.2.0,打造您的梦想家园!
 全新升级!Sweet Home 3D官方版v7.0.2,打造梦想家园的室内装潢设计软件
 优化后的标题
 最新版躺平设
 每平每屋设计
 [pCon planne
 Ehome室内设
 家居设计软件
 微信公众号
微信公众号

 抖音号
抖音号

 联系我们
联系我们
 常见问题
常见问题


